Hardware.
For those interested, I've outlined the main specs of my current build.
RAM
Corsair Vengeance 3200
Storage
Samsung 970 Evo Plus

PSU
Seasonic Ultra Plat 650W
Peripherals.
Display
Dell S2716DG
2560x1440 @ 144hz
Brandless (AliExpress)
3840x960 @ 60hz
Mouse
Logitech G Pro
Logitech PowerPlay Mouse Pad
Headset
Logitech Pro X Wireless
Other
Stream Deck
Xbox Elite Wireless Controller Series 2
RGB
NZXT Ambient Lighting Kit
NZXT RGB Underglow
NZXT LED Strips
⠀
Phanteks Neon RGB Strips
Lian-Li Strimer Plus ARGB 8 Pin
Lian-Li Strimer Plus ARGB 24 Pin
System Monitoring.
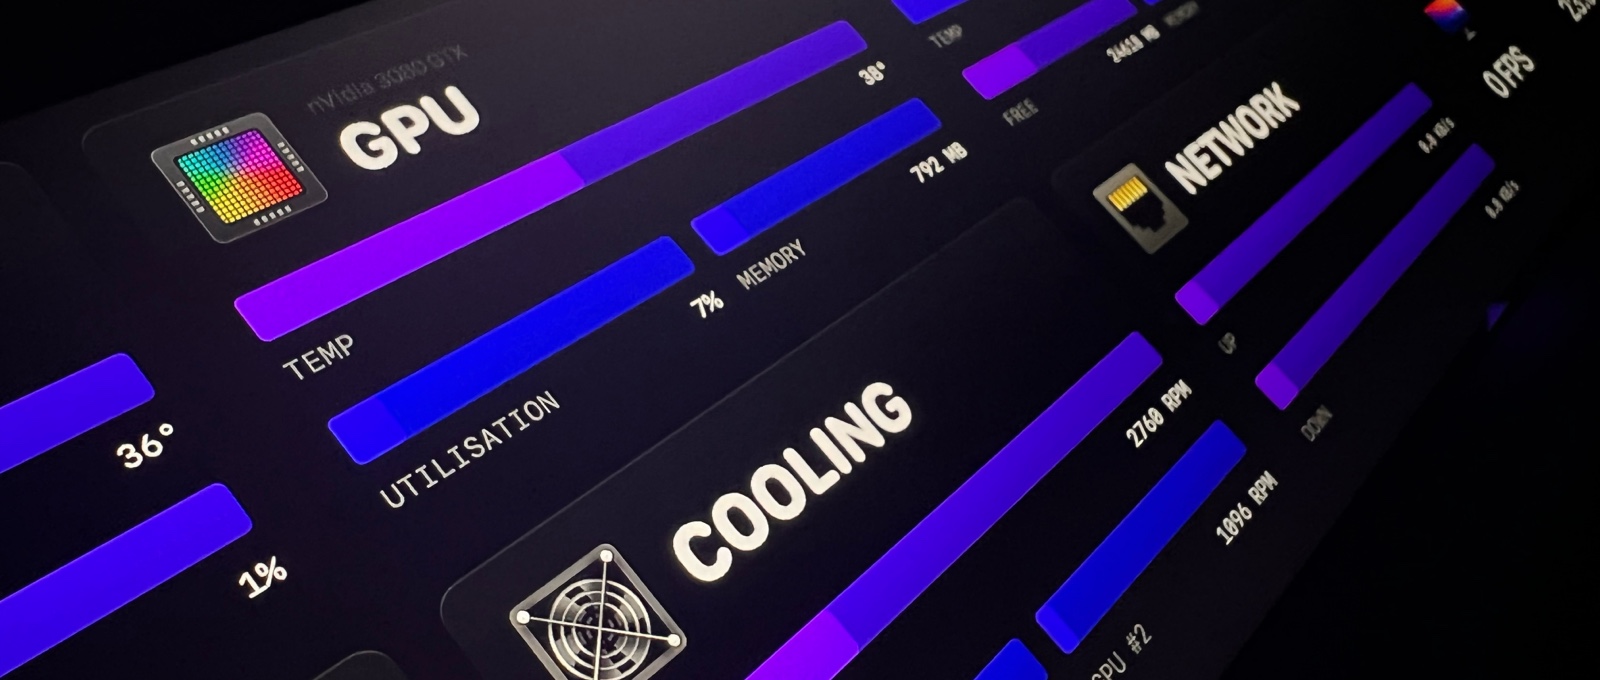
One thing that I had seen a few times with modern builds is the use of a small, separate display to be used for System Monitoring.
Knowing that AMD’s tend to run hotter and with the powerful graphics card no doubt producing a lot of heat, I was interested in organising some kind of display to monitor the systems vitals.
It didn’t take long to decide on the software to use for this (called Aida64), which essentially (among other things) allows you to build a status panel with quite flexible (albeit fiddly at times) customisation.After that, it was a case of deciding on the display. I ended up looking around on AliExpress because I found a number of displays there at strange sizes with strange aspect ratios and I settled on a wide but short display.
Knowing that I was going to be essentially building a custom theme for it, I wanted to make sure it looked as good as it functioned and so opted to go for a 4K display, with a resolution of 3840x960.
When it arrived, the build quality was far better than expected and the panel itself is excellent. It includes a faux HDR mode which can be enabled through the OSD to add a little more vibrancy but that’s personal preference really, and something I generally leave disabled.
While Aida64 is fairly flexible in what you can do (and you can import and export configurations), it is quite fiddly to setup in terms of sizing and positioning elements so, for example, there’s no auto layout or anything of the sort. Everything is positioned X pixels from the top left corner which makes sharing layouts tricky (because, without a display with an identical resolution, it just won’t fit) however I have shared mine regardless so that you can at least see what I did and if you so choose, move things around to suit your display. You can also download the icons that I created for use on my display as well in the Icons section.
Tip: If you're going to build your own theme, I would recommend designing the entire thing first, exporting an image of the entire design with a low opacity (around 20%), at the correct resolution for your display, and then adding that as a layer in Aida64 and essentially "tracing" it, as you add elements so that you can easily make sure they are sized and positioned correctly.
Note: Being that I am using a 4K display for my status screen, when viewing any of the components on a standard HD or QHD display, everything will appear twice the size however you can simply halve the dimensions.
Icons.
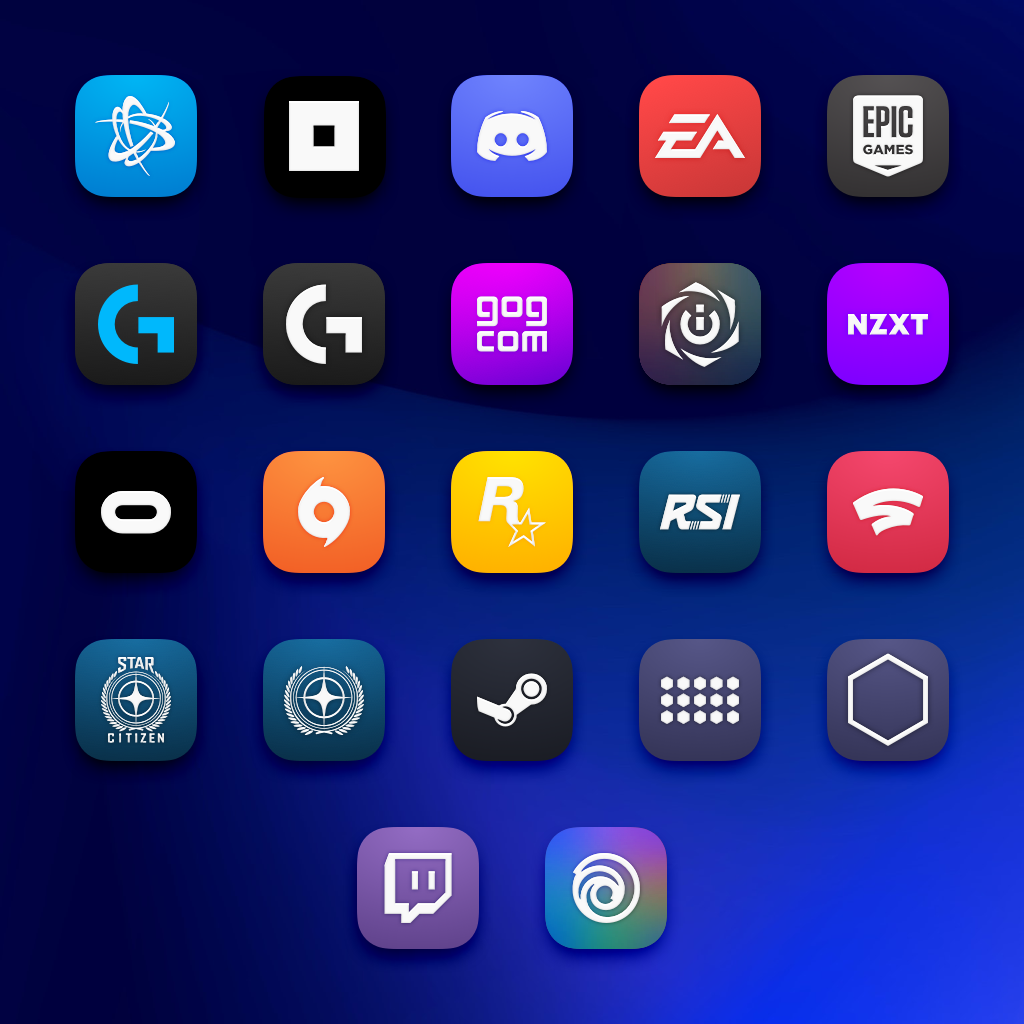
Unfortunately, these days PC gaming involves having a collection of different launchers for gaming services, with varying icons, none of which match and so I put together a collection of icons which should cover all of the main gaming services (feel free to reach out if there’s any missing!).
If you're building a System Monitor or just like the icons, I have bundled up the hardware icons that I created for my System Monitor.